Today we share one free amigurumi crochet pattern again for you. As you know we share new amigurumi free patterns every day. The main crochets are amigurumi gazelles, amigurumi bears, amigurumi pola, amigurumi pandas, amigurumi penguins, amigurumi giraffes, amigurumi llama, amigurumi pigs, amigurumi bunny, amigurumi clowns, amigurumi lambs, amigurumi bees, amigurumi unicorns, amigurumi dolls, amigurumi foxes, amigurumi penguins, amigurumi dinosaurs, amigurumi elephants, amigurumi hippos, amigurumi monkeys, amigurumi cats, amigurumi dogs and more …
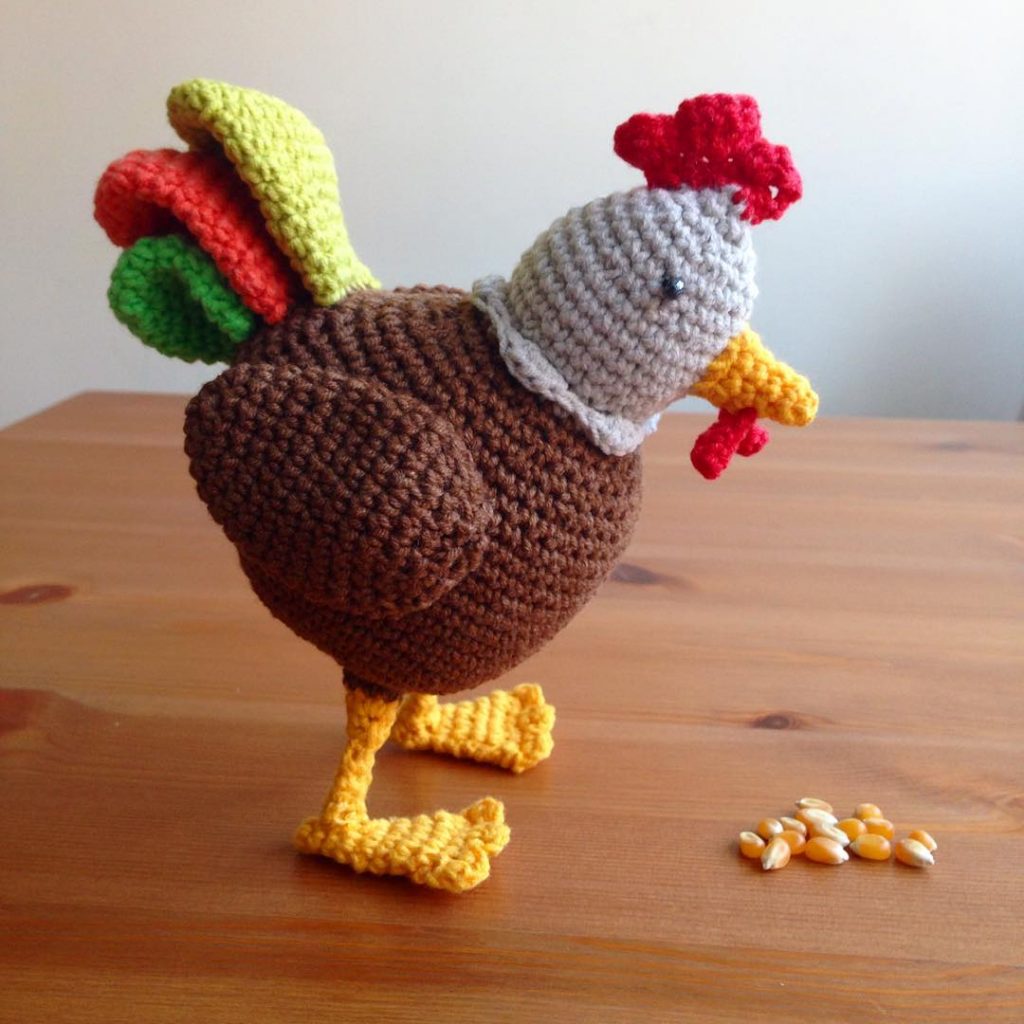
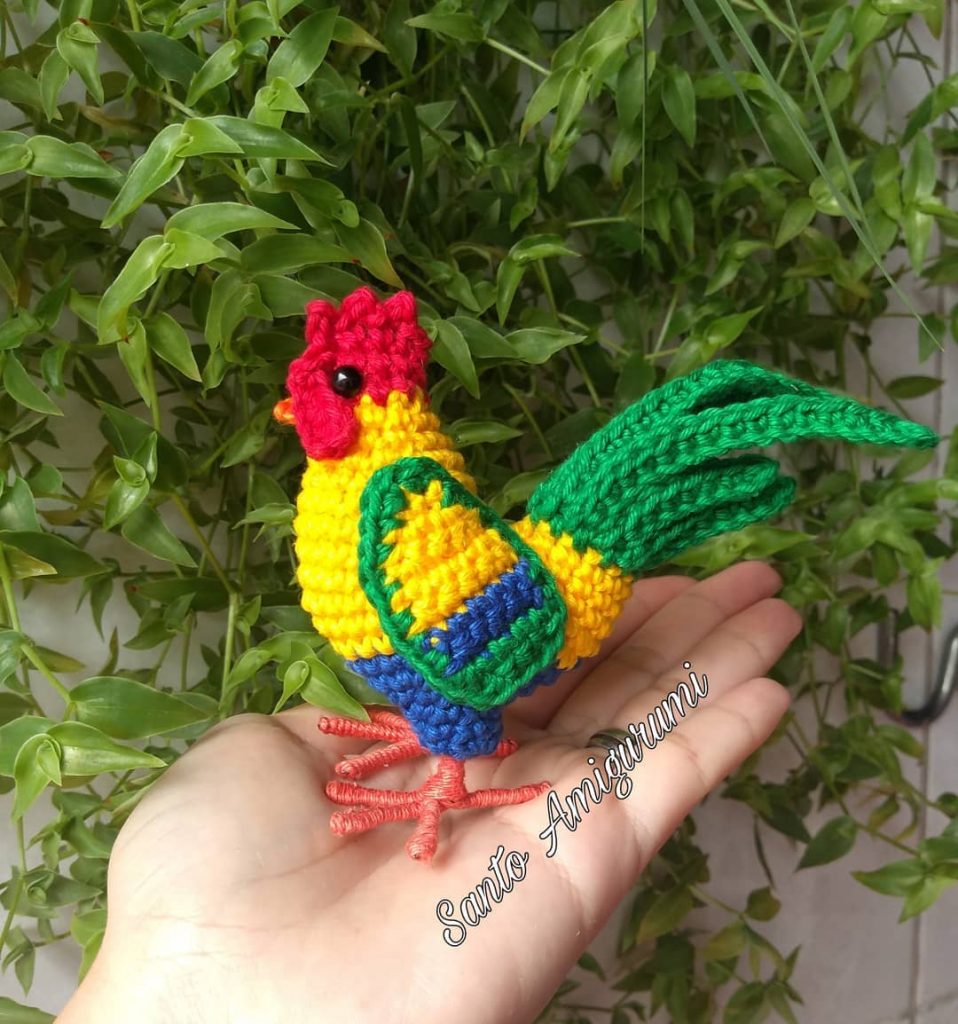
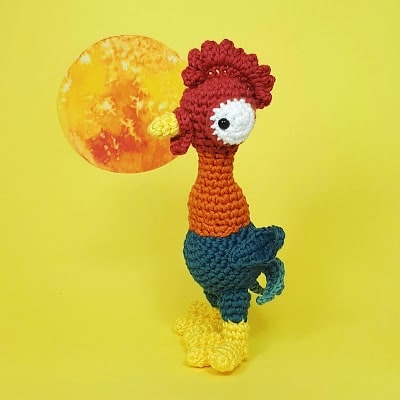
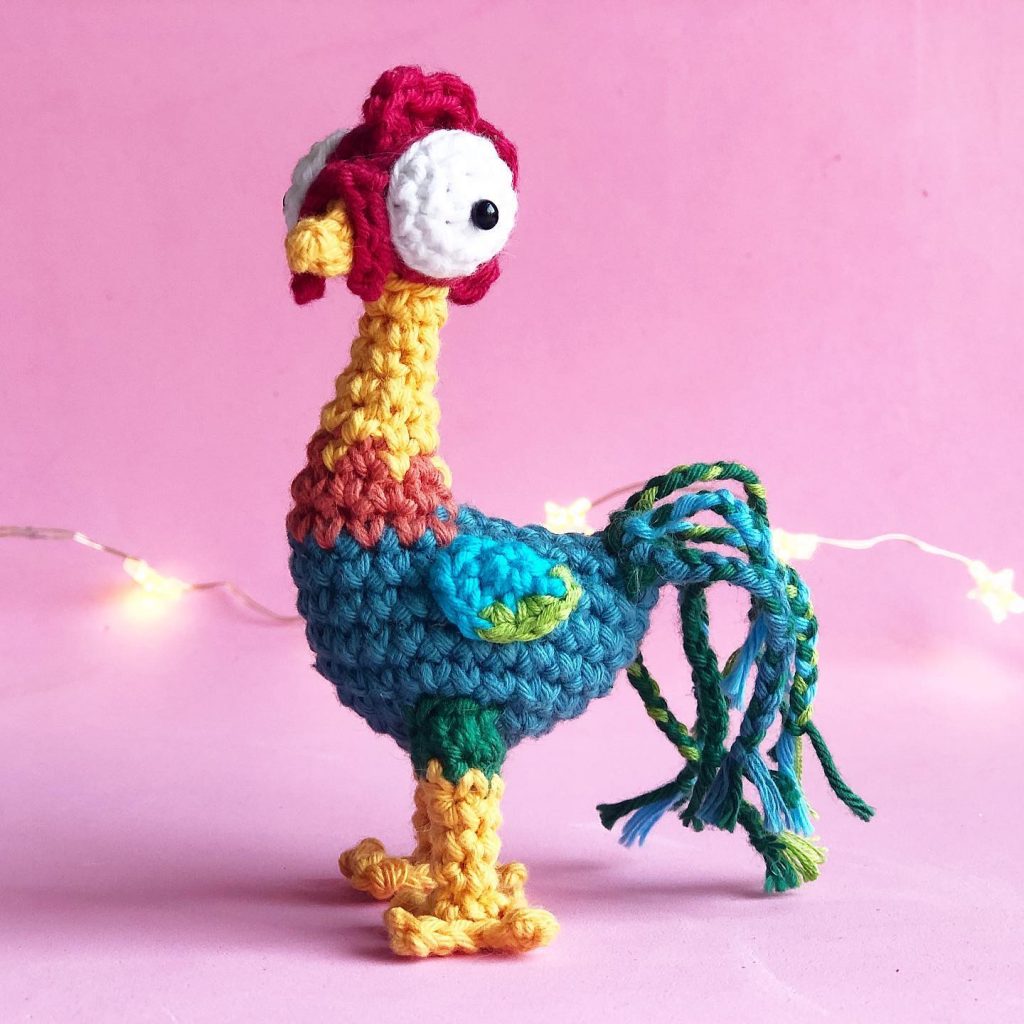
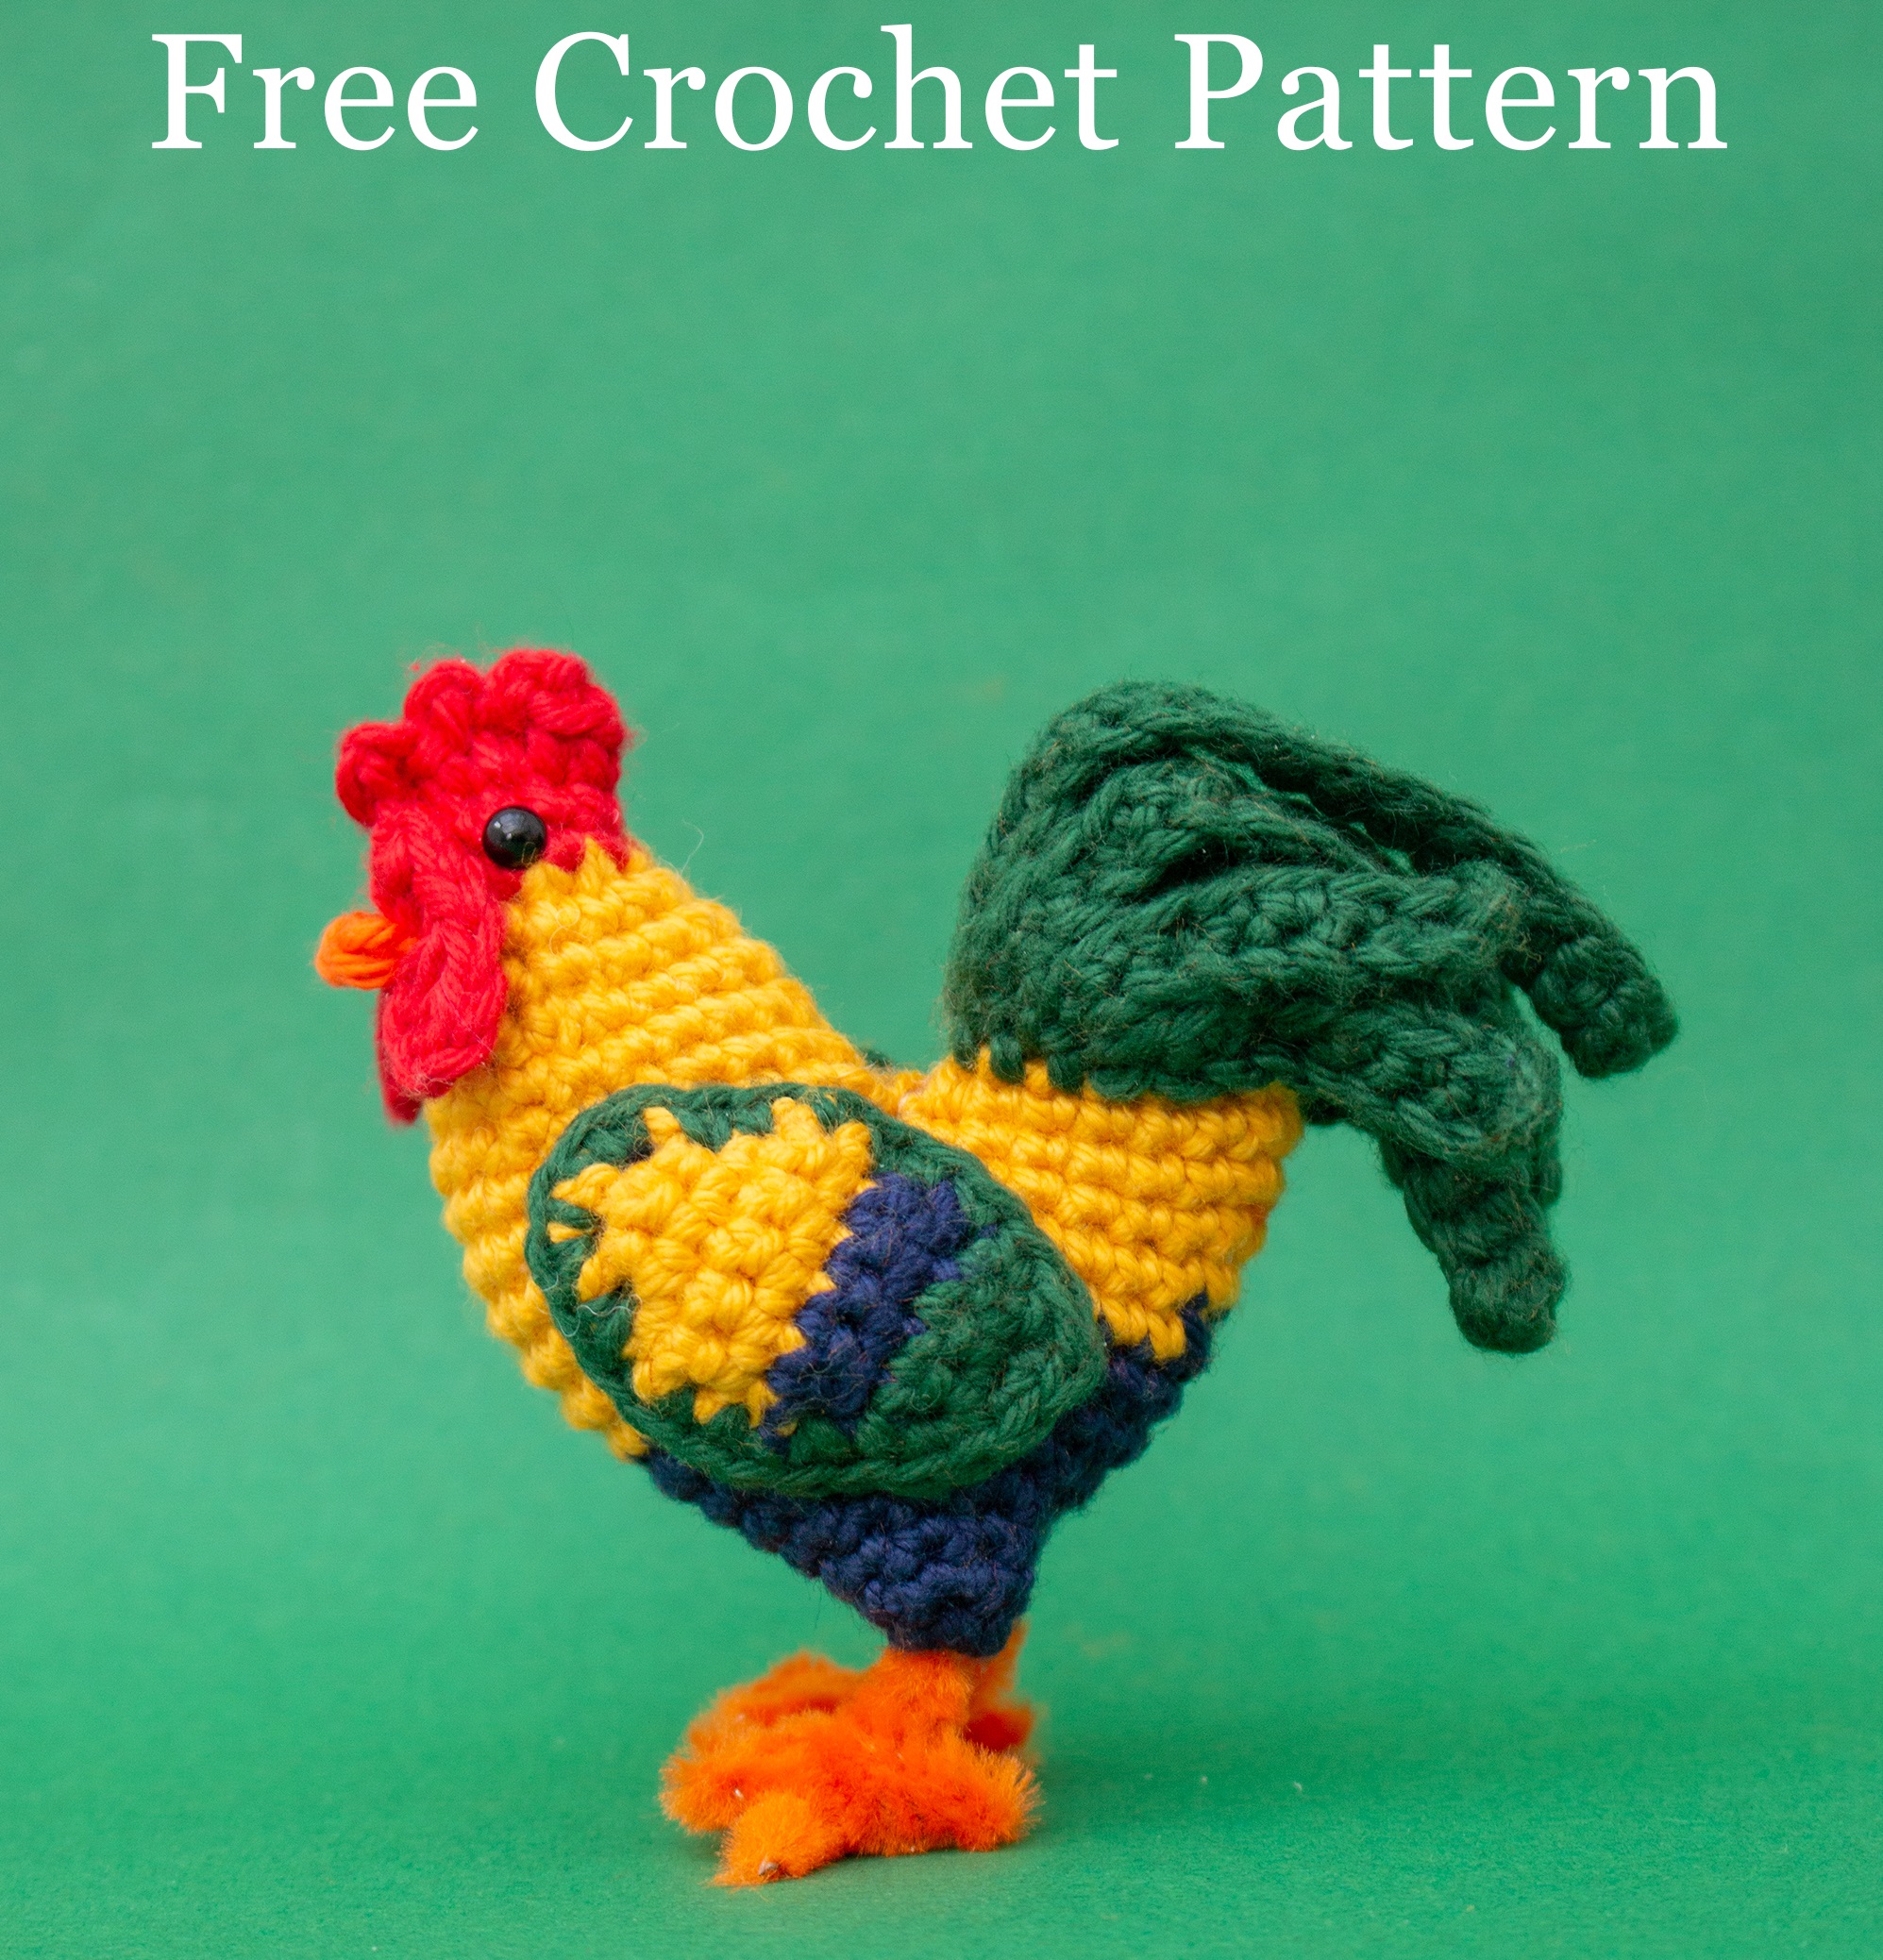
Todays daily new amigurumi free crochet pattern is amigurumi rooster
I want to give you some informations about this pattern ;
If you enjoy making amigurumi, here I share this easy and free amigurumi pattern for you for free. Your kids will love these toys.
Materials
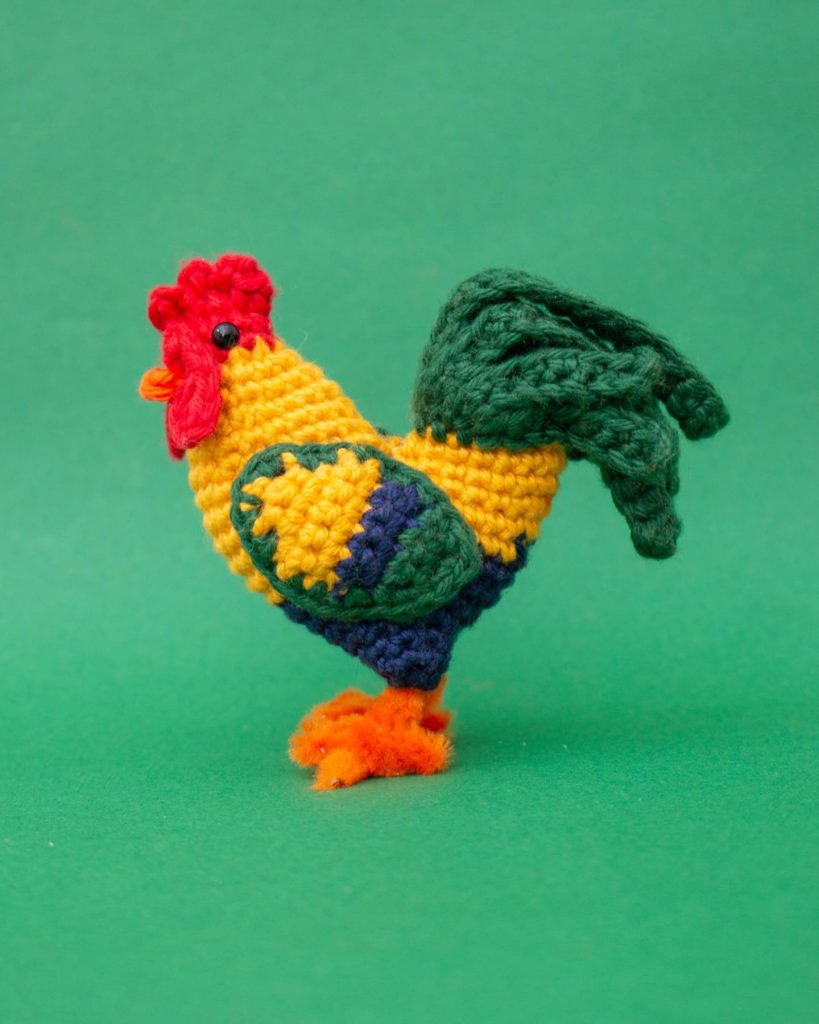
DK/light worsted weight cotton yarn in green, blue, yellow, red and orange (I used Paintbox Yarns Cotton DK in Racing Green (428), Royal Blue (441), Buttercup Yellow (423), Rose Red (414) and Blood Orange (420))
2.5mm/size B or C crochet hook
4mm (0.16″) safety eyes or black embroidery floss/yarn
Fiberfill
16cm / 6.5″ long piece of pipe cleaner or craft wire
Yarn needle
2 stitch markers
Scissors
Abbreviations
R = row
Rd = rd
St(s) = stitch(es)
Ch = chain
Sl st = slip stitch
Sc = single crochet
Hdc = half double crochet
Dc = double crochet
Inc = single crochet 2 in same st
Dec = invisible decrease: Insert hook in front loops of next 2 sts, yarn over, pull through both front loops, yarn over, pull through 2 remaining loops
Sk = skip
Tog = together
[…] = series of stitches to be repeated
(…) = stitch count once round is completed
Instructions
Crochet the tail feathers in dark green
[ch 9, sc in next 8 ch (starting in 2nd ch from hook)] repeat 2 times,
[ch 17, sc in next 16 ch (starting in 2nd)] repeat 3 times,
[ch 9, sc in next 8 ch (starting in 2nd ch from hook)] repeat 2 times
Crochet the legs and lower part of the body in navy
Rd 1: Sc 6 in magic ring (6)
Rd 2: [sc in next 2 st, inc in next st] repeat 2 times (8)
Fasten off.
Repeat rd 1 and 2 for the second leg. This time don’t fasten off. Continue from here:
Ch 1
Rd 3: Sc in next 8 st, sc 1 in ch, sc in next 8 st, sc 1 in other side of ch (18)
Rd 4: [sc in next 2 st, inc in next st] repeat 6 times (24)
Rd 5: Sc in all 24 st (24)
Rd 6: [sc in next 3 st, inc in next st] repeat 6 times (30)
Rd 7: Sc in next 29 st, sc in next stitch changing to yellow yarn (30)
Rd 8: [sc in next 4 st, inc in next st] repeat 6 times (36)
Rd 9 to 11 (3 rds): Sc in all 36 (36)
Insert and shape the feet with a 16cm/6 1/2 inch long piece of pipe cleaner or craft wire.
If you find the pipe cleaner feet too fluffy, you can trim some of the fluff.
Start filling the body with fiberfill. Press both sides of the body together to determine the front and back. Divide the round in 21 stitches in the front and 15 stitches in the back.
Continue with the smaller round of 15 st:
Rd 12: Sc in next 14 st, sc in next st changing to green yarn (15)
In rd 13 we will crochet on the tail feathers. The number of stitches you make before crocheting on the feathers may vary depending of how tightly or loosely you crochet.
The feathers should be facing downwards with the “wrong” or left side up.
Rd 13: Sc in next 2 st, sc base chain of the tail feathers together with next 7 st, sc in next 6 st (15)
Add more fiberfill.
Rd 14: [sc in next st, dec] repeat 5 times (10)
Rd 15 & 16 (2 rds): Sc in all 10 st (10)
Fill with some more fiberfill, if necessary.
Rd 17: Dec 5 times (5)
Fasten off the round.
Join yellow yarn at the beginning of the front round of 21 stitches, leaving a long yarn tail for closing the small gap between neck and tail later on.
Rd 12 & 13 (2 rds): Sc in all 21 st (21)
Rd 14: [sc in next 5 st, dec] repeat 3 times (18)
Rd 15: Sc in all 18 st (18)
Fill the body with fiberfill.
Rd 16: [sc in next 4 st, dec] repeat 3 times (15)
Rd 17: [sc in next 3 st, dec] repeat 3 times (12)
Rd 18: Sc in next 11 st, sc in next st changing to red yarn (12)
Rd 19: [sc in next 2 st, dec] repeat 3 times (9)
Fill with more fiberfill, if necessary.
Rd 20: Sc in all 9 stitches (9)
Attach safety eyes or embroider the eyes.
Crochet the comb and wattle
Sc in next 2 st or until you reach the center back of the head
Sc 2 st on opposite sides of the head together (leaving out the last stitch you made at the back of the head), ch 2, sc in 2nd ch from hook,
sc next 2 st on opposite sides tog, ch 2, sc in 2nd ch from hook,
sl st next 2 st on opposite sides tog, ch 2, sc in 2nd ch from hook,
sl st next 2 st on opposite sides tog
Do not fasten off! Continue to crochet the wattle:
Ch 7, hdc in 3rd ch from hook, dc in next ch, hdc in next ch, sc in next ch, sl st in next ch,
ch 7, hdc in 3rd ch from hook, dc in next ch, hdc in next ch, sc in next ch, sl st in next ch
Fasten off and use the yarn end to attach the wattle at the left side of the head. Weave in the yarn end.
Crochet the beak in orange
Ch 2, leaving a long enough end to attach the beak, sc in 2nd ch from hook
Fasten off, leaving a long enough end to attach the beak.
Attach the beak between the yellow and the red part of the head, on top of the wattle. You can tie or weave in the yarn ends on both sides of the body where the wings will cover them.
Crochet the wings (make 2)
The wings are crocheted in rows.
Ch 3 in yellow
R 1: Sc in next 2 ch (starting in 2nd from hook), ch 1, turn (2)
R 2: Inc in both st, ch 1, turn (4)
R 3: Inc in next st, sc in next 2 st, inc in next st, ch 1, turn (6)
R 4: Sc in all 6 st, ch 1, turn (6)
R 5: Sc in all 6 st, join navy yarn in a ch, turn (6)
R 6: Sc in all 6 st, ch 1, turn (6)
R 7: Sc in next st, sk next st, sc in next 2 st, sk next st, sc in next st, join green yarn in a ch 1, turn (4)
R 8: Sc in all 4 st, ch 1, turn (4)
R 9: Sk next st, sc in next st, sk next st, sc in next st (2)
Do not fasten off. From here we crochet all around the wing.
Sc in the side of each R (8 sc ), inc in 2 base ch at beginning of wing, sc in other side of first 7 R (7 sc), inc in side of R 8, sc in 2 st of R 9
Fasten off with an invisible finish, leaving a long tail for sewing.
Weave in the yarn ends or hide them under the wing when sewing them on.
Use the long yarn end to sew on the wings on each side of the body. You can use the same yarn end to stitch down the tail feathers.
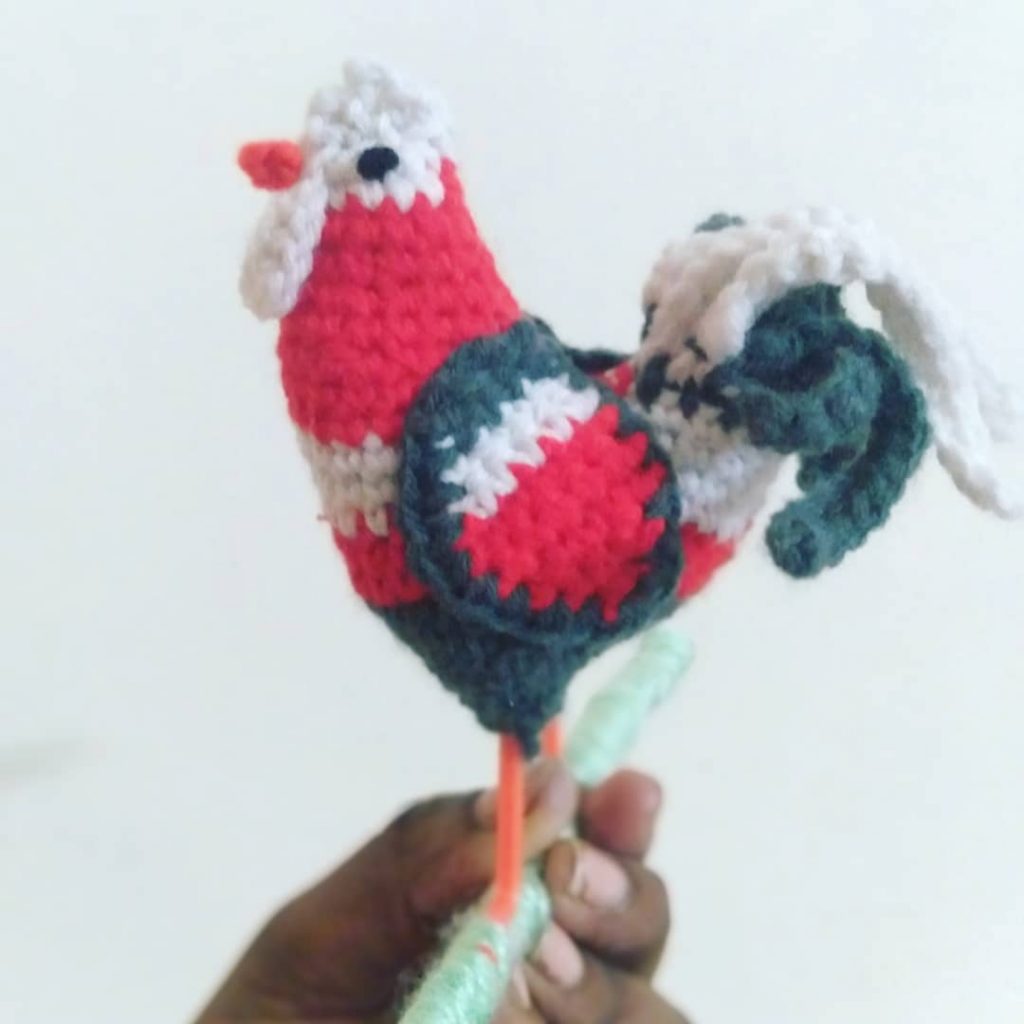
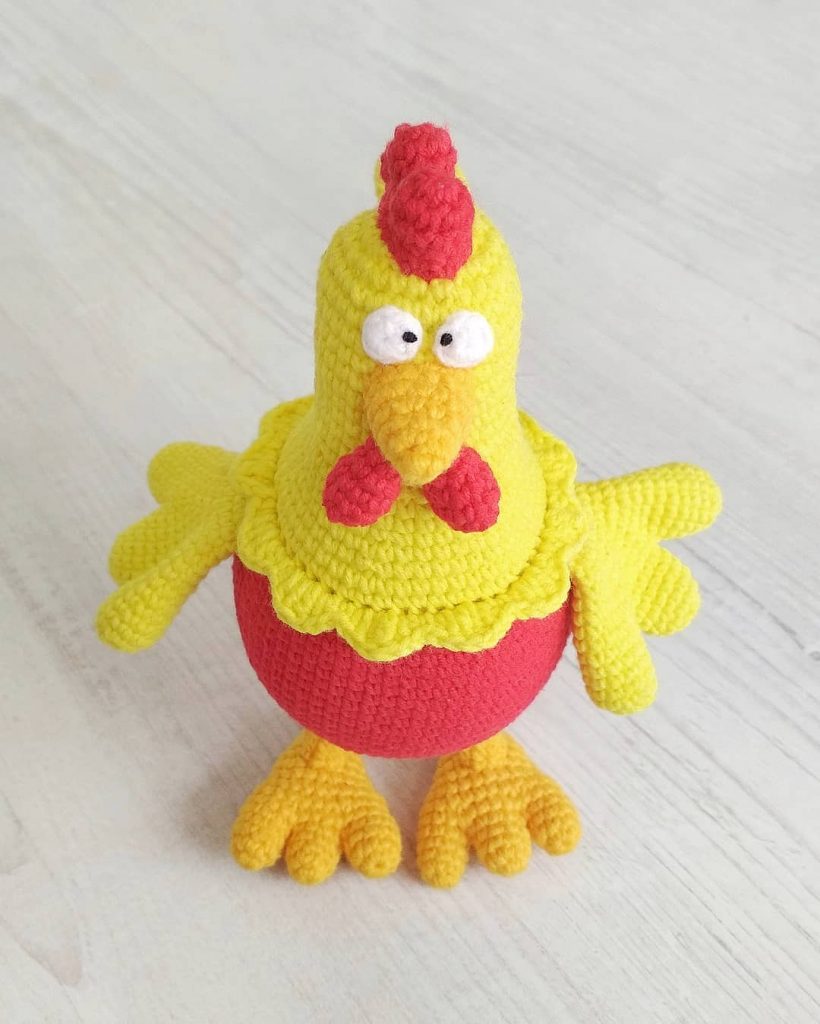
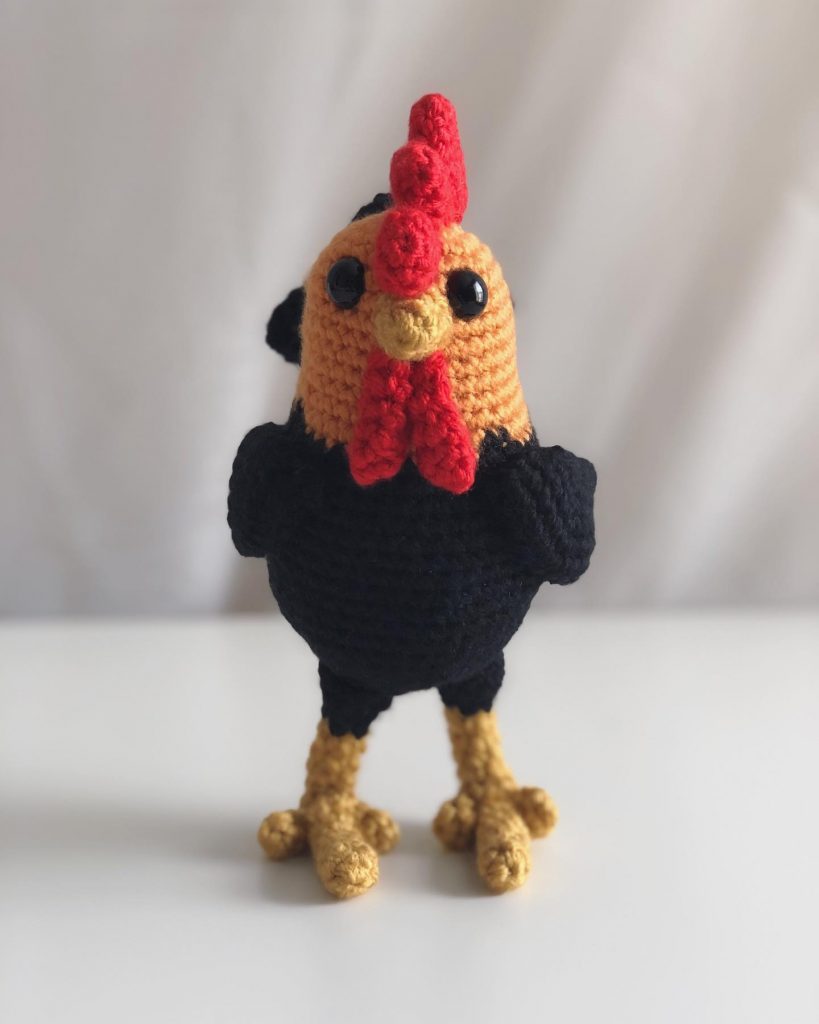
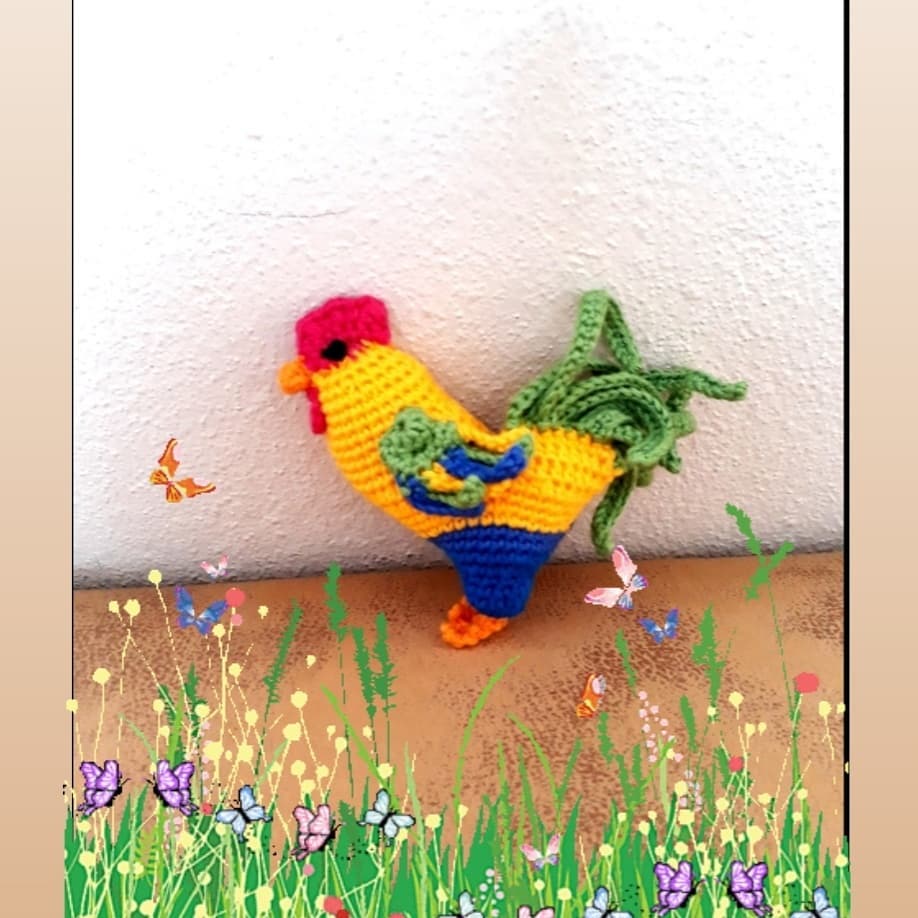
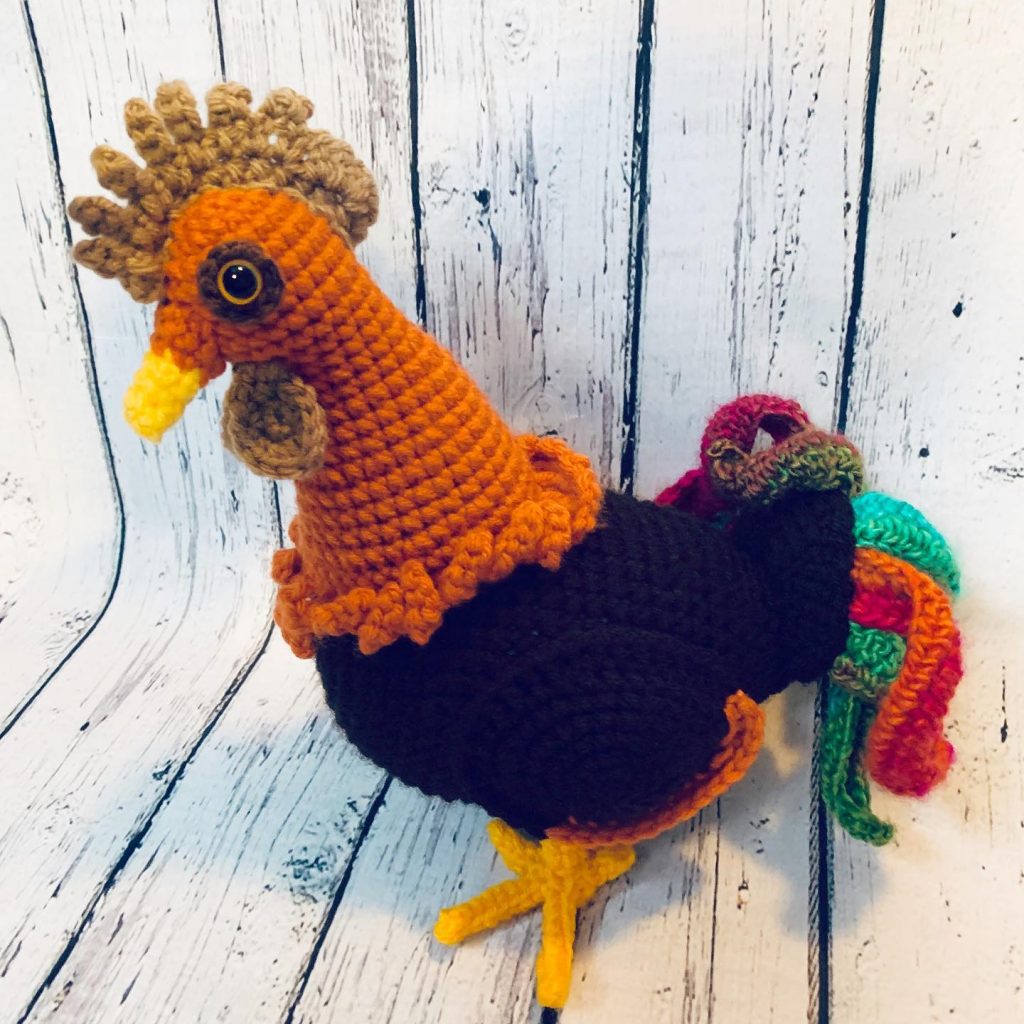
More Amigurumi Rooster İdeas